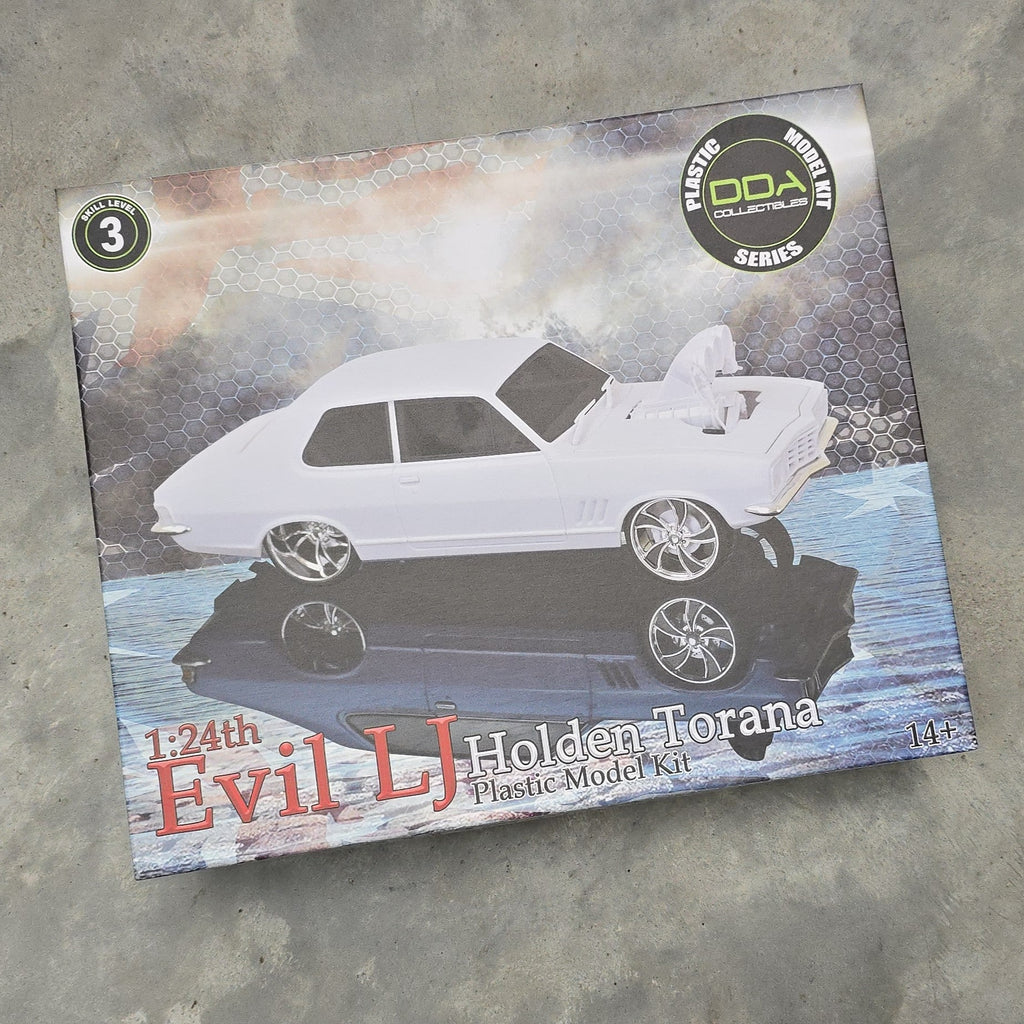
FIRST LOOK : 1/24 LJ Torana Custom 'Evil LJ' Model Kit

The brand new kit release from our friends from Diecast Distributors Australia (DDA), the 1/24 LJ Torana Custom 'Evil LJ', has arrived so let's take a close look at the sprues and what it looks like built up!
The real 'Evil LJ' is a custom built LJ Torana by Luke Mitchell from Advanced Motorsports that featured on the Australian TV Show 'Rides Down Under'. We could go into all the details, but it might be better to link to an article over at Street Machine that goes through it all : Blown LS-powered 1973 Holden LJ Torana - EVIL LJ
So, let's take a look at what's in the kit!
On the first sprues, you'll notice all of new tooling for this custom Torana. The entire engine, engine bay and bonnet are all new tooling for this kit. 
Next up is the roll cage sections for inside the interior plus the custom exhaust system for underneath the chassis.

Even the chassis is new tooling, with cut outs where the extra deep tubbed wheels sit on the rear!

The next few sprues feature some shared parts from the original LJ kits that DDA released.


The rubber parts for the wheels, seats and engine hoses are all new as well. Check out those low-profile tires!

And check out the rims! These are custom rims that are on the real car itself, that DDA have reproduced in 24th scale and supplied them pre-chromed with black inserts! All you need to do is slip on the tires and they are good to go.


The decal sheet comes with the custom stripes and badges used on the real Evil LJ - perfect for making an exact replica.

Here's everything you get in the box :

At this point, you may be thinking that it's all well and good to see the sprues, but how does it build up?
I quickly threw one together so you can get a good idea of what it builds up like so you can plan your own build. Note that I haven't installed any clear parts as I didn't want to risk damaging them on the test fit and that some parts are held together with a little Blutak because I didn't want to glue anything together because I need to paint those parts separately later.
It went together very easily overall. The engine was a little fiddly, but everything went into place well. An issue that sometimes pops up on the older DDA kits is that the bonnet doesn't sit flush, but the bonnet in this kit actually sat into place perfectly. The only modification I needed to make, was to slightly open up the holes in the rims so that the axle would fit easily and without force. To do that, I used a 2.5mm drill bit on a slow speed and slowly drilled out the hole so that there was no resistance when inserting the axles.


Next up I will be pulling this all apart and getting it into the spray booth for a coat of paint. The real Evil LJ has a custom paint job that was achieved using multiple layers of Pearls, something that I will be replicating on the paint on this kit.
Keep an eye out for future updates where we go through step by step on how to paint this kit to look like the real Evil LJ!
Keep on modelling!
- Scott

